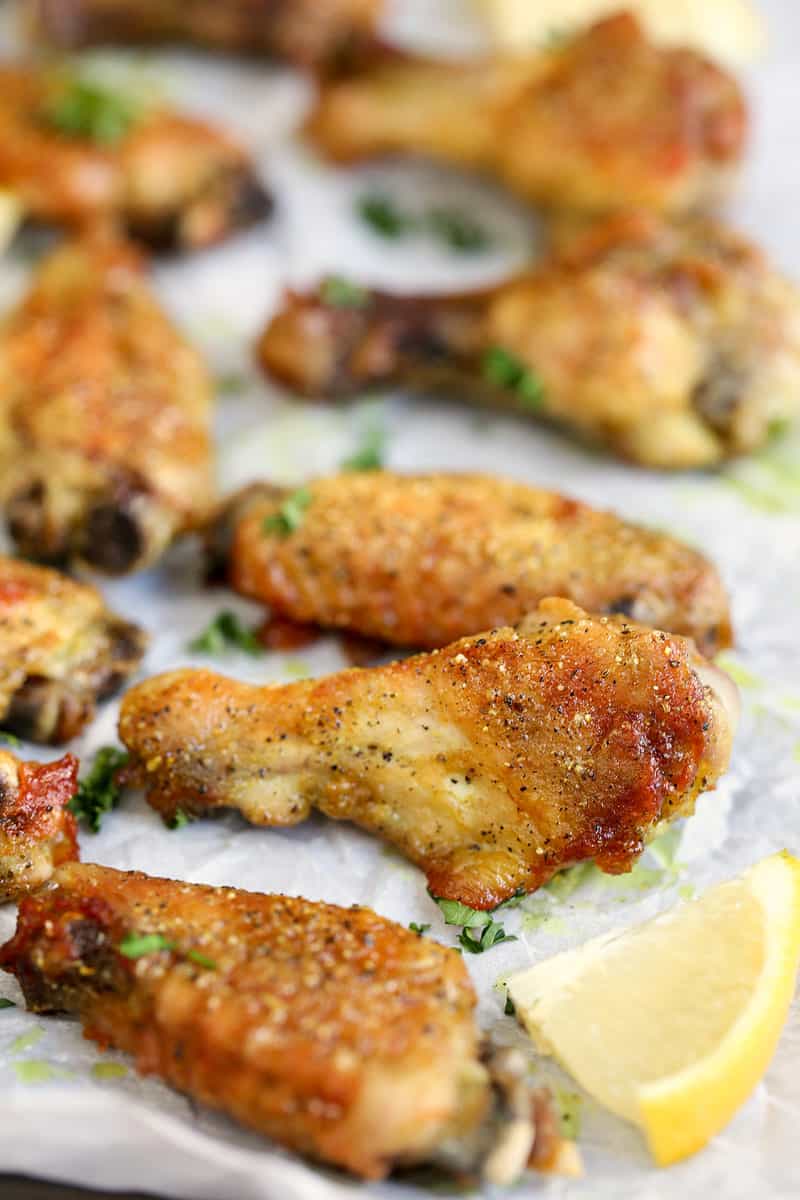
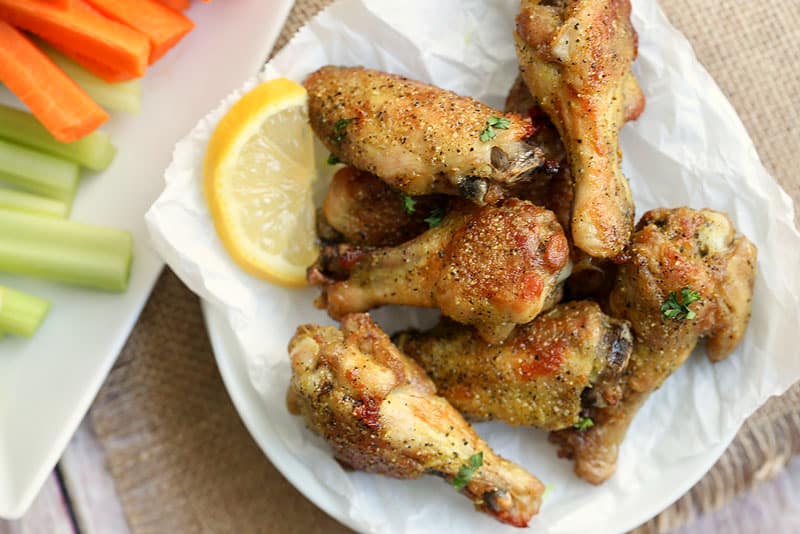
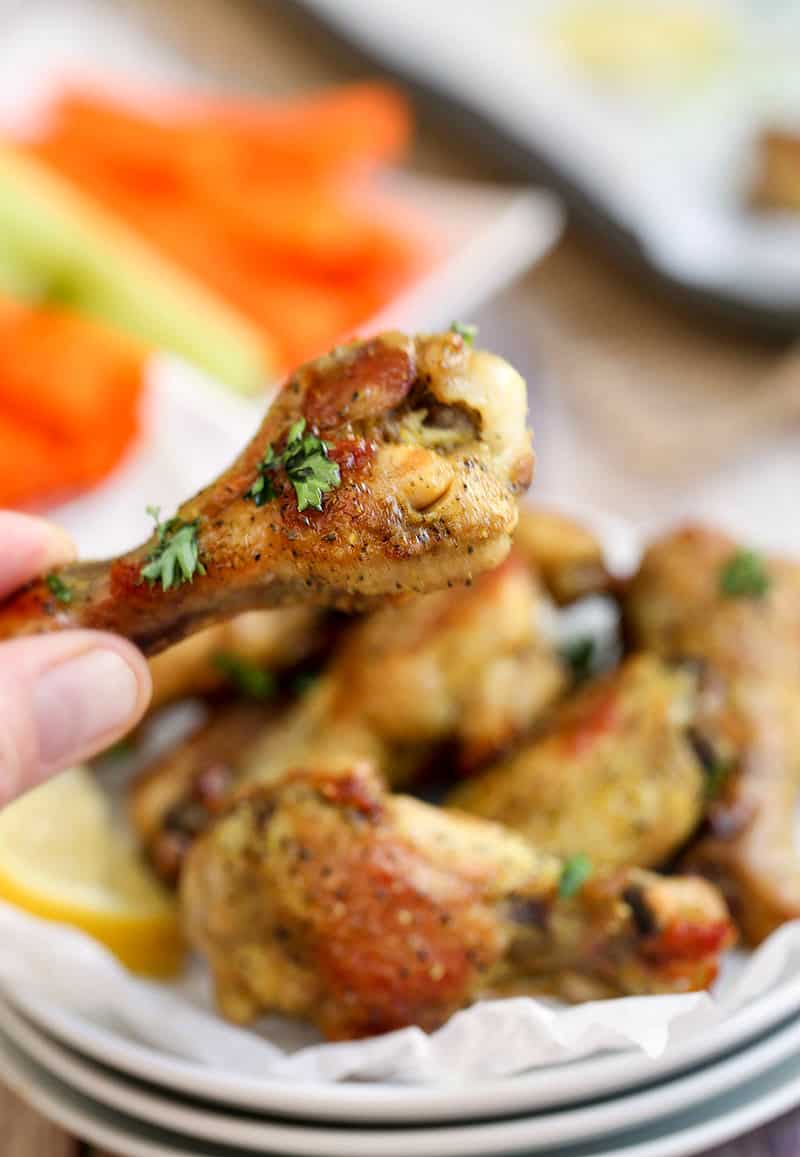
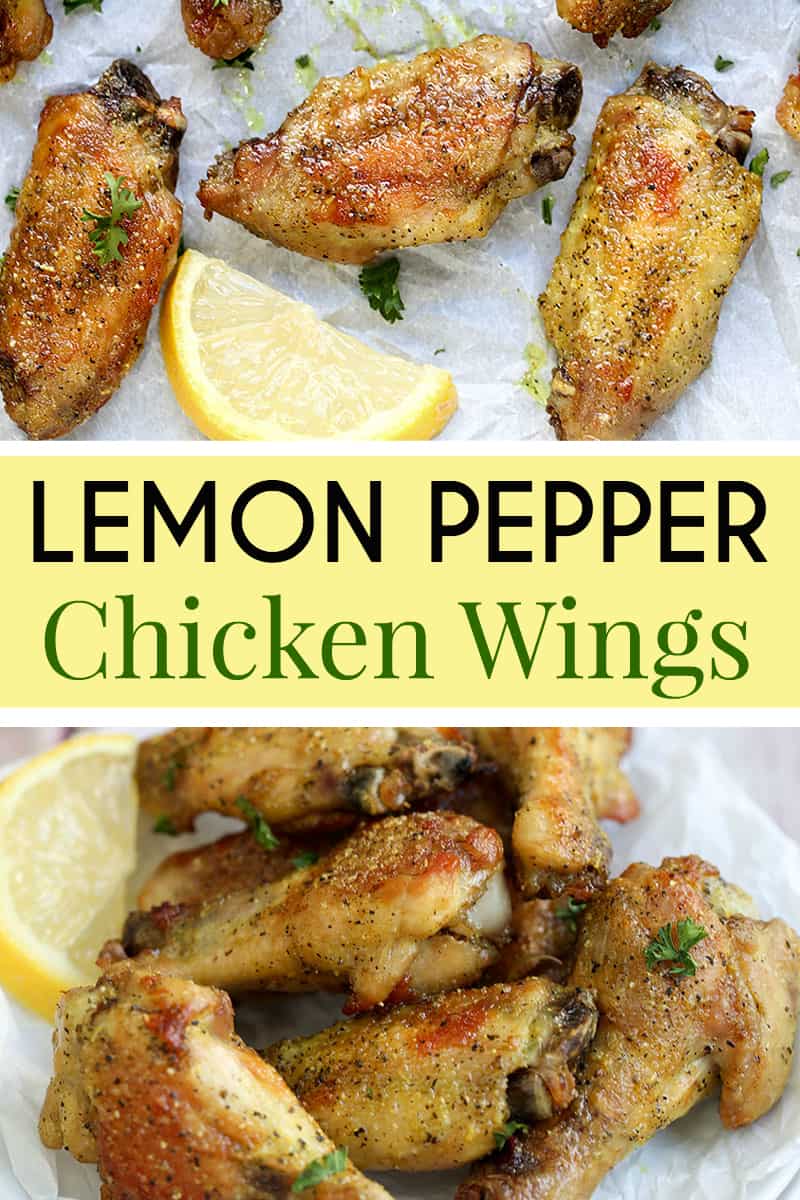
Lemon Pepper Chicken Wings
These crispy and delicious baked Lemon Pepper Chicken Wings takes just 4 ingredients. Perfect for dinner, game day, or to satisfy that finger-licking wing craving.

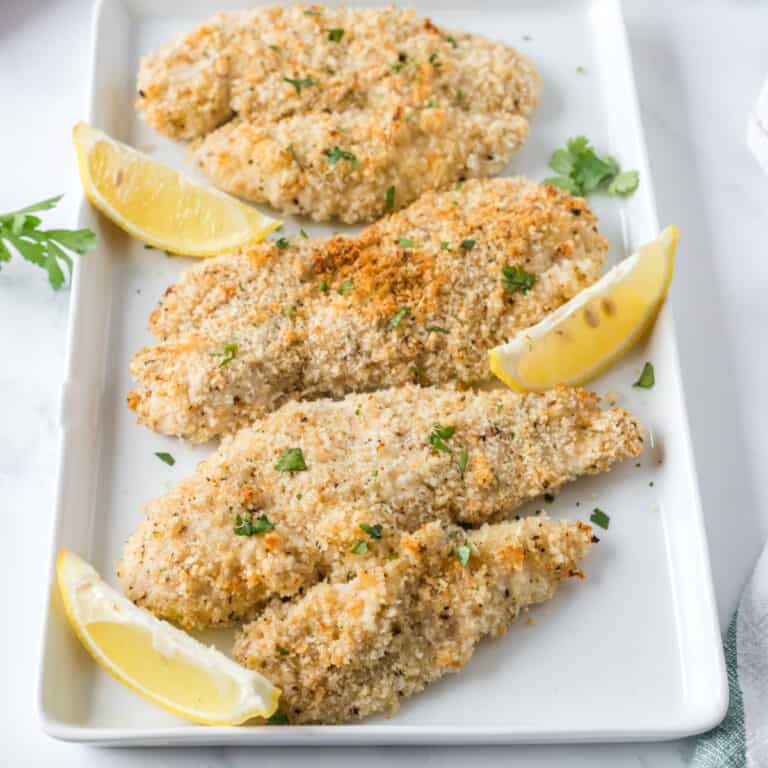
Lemon Pepper Chicken Wings
Wings aren’t just for Wednesdays! I make chicken wings as an appetizer to a main dish meat, and as often as I can. For instance, I love these Honey Sriracha Chicken Wings, and Crispy Air Fryer Chicken Wings that use NO OIL!
These Lemon Pepper Chicken Wings are brushed with lemon pepper and butter and baked twice to get that crispy perfection.
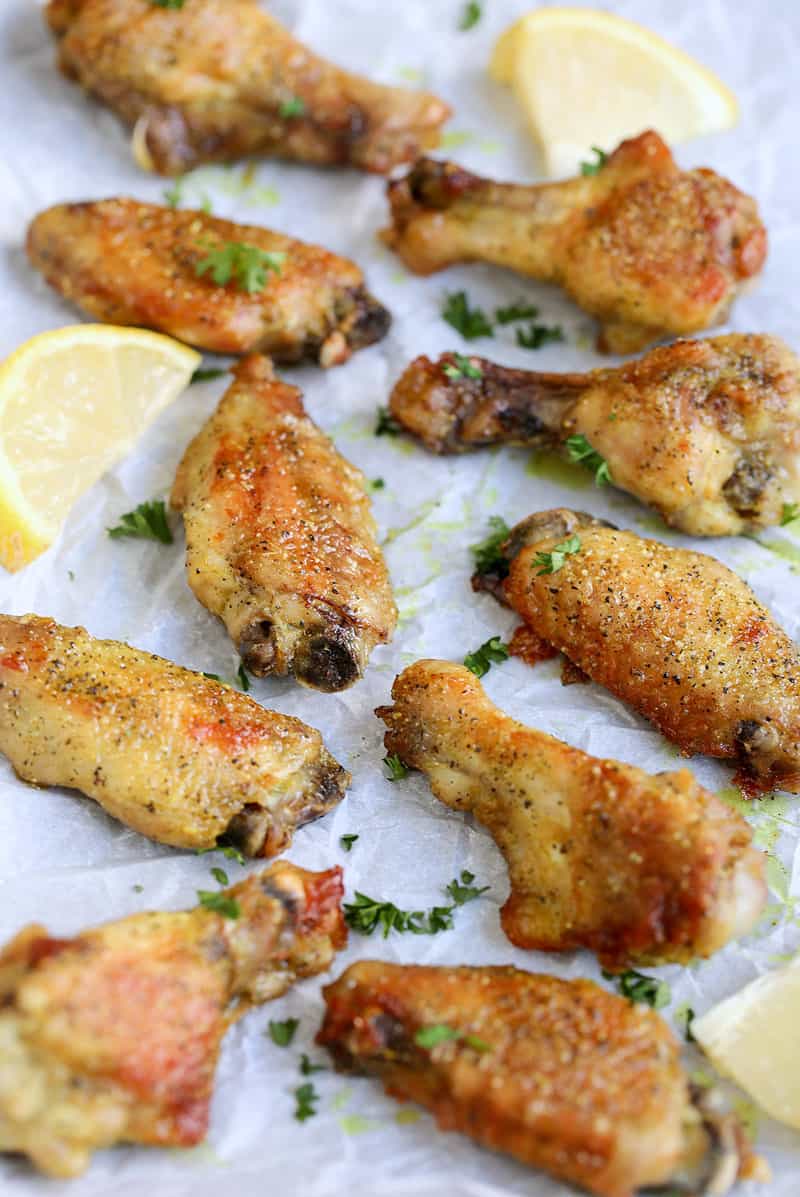
Chicken wings are a constant craving for me, yet only as an adult. Kid-me would never try Buffalo Chicken Wings, for instance. Now, Lemon pepper is another flavour that I simply can’t resist. Seems like an odd combination, but it’s delicious.
Thing is, I have ordered them at a restaurant or bar before and they were terrible. Some had too much pepper and other way too sour. I hate having to wipe off a wing seasoning in order to be able to eat them.
This recipe my friends, is perfection. Yet more importantly, so very simple. There isn’t a ton of ingredients and steps, just 4 ingredients.
Some recipe will call for lemons and pepper and ways to make your own rub, but the best trick is just to use lemon pepper seasoning. It’s a no fail spice that I also use to make my Lemon Pepper Asparagus.

What is lemon pepper seasoning made of?
Here’s a fun fact, this seasoning actually contains lemon, pepper, garlic, onion, and salt. So there’s no need to use anything else when making this flavour of wings. Actually, it’s a seasoning that I always have on hand and quickly go and purchase when I use the last of it.
HOW TO MAKE LEMON PEPPER CHICKEN WINGS
When I say this is a yummy and EASY chicken wings recipe, I mean it. First you bake chicken wing pieces on a parchment paper baking sheet until done.
Then you coat each wing {either by brushing or tossing in a bowl}, with melted butter and lemon pepper seasoning. Then, you bake again for just a few minutes to get them crispy. It’s that simple!
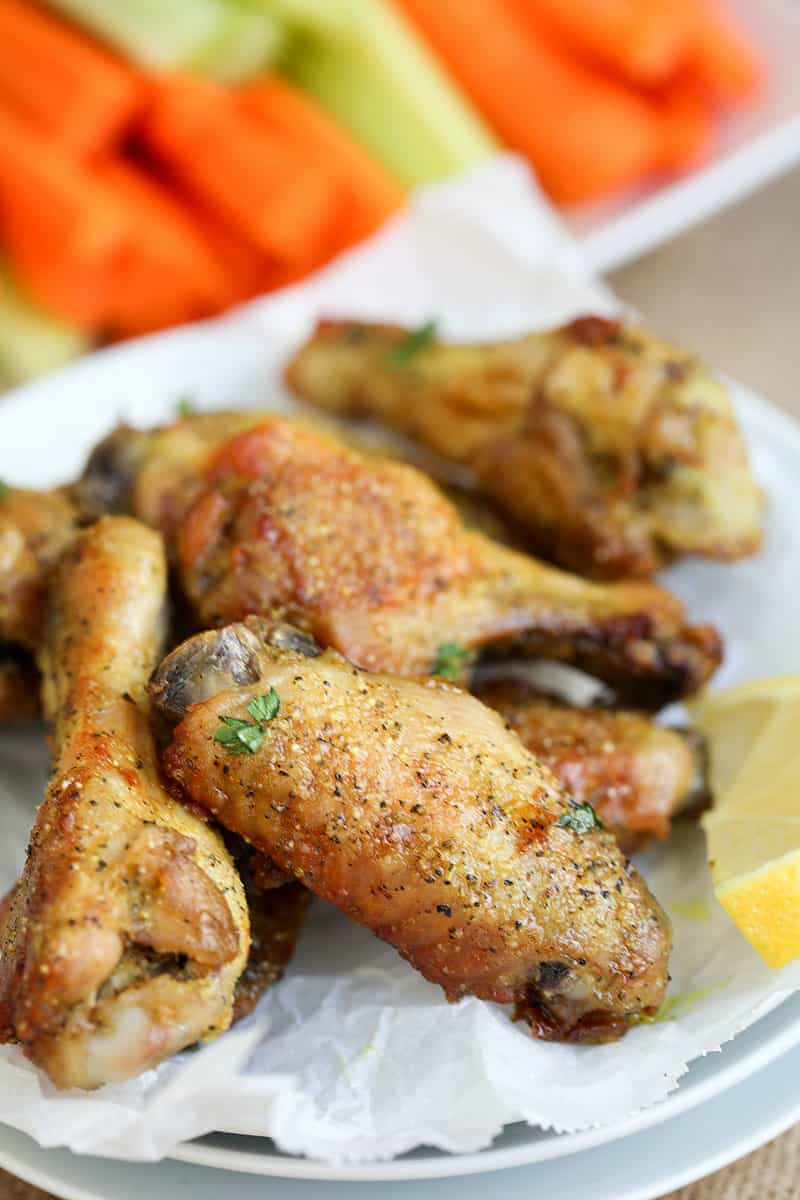
These wings are not only simple but are baked twice to perfection and full of juicy lemon and butter flavour. As an added bonus, this is a perfect low-carb recipe as well.
Everything about these lemon pepper wings are fabulous. They are ideal for a game day food, a summer picnic, or just a delicious family dinner. Tasty and crispy, these are why wings are so popular.
Enjoy!
Lemon Pepper Chicken Wings
Ingredients
- 2 lbs chicken wings
- 1/8 cup vegetable oil
- 1/8 cup butter (melted)
- 1.5 tbsp lemon pepper seasoning
- parsley for garnish (optional)
Instructions
- preheat oven to 400 and line a baking sheet with parchment paper
- toss chicken wings in oil and place them on the parchment paper, making sure they don’t overlap. Bake for 50-60 minutes, or until golden brown and crispy
- Remove cooked wings from the oven. In a small bowl, melt the butter using a microwave. add in the the seasoning and mix.
- Turn the oven to broil. Brush each wing liberally with the seasoned butter. Broil for 1 minute, then turn each wing, brush again and broil for another minute.
- Serve immediately with parsley as a garnish if you so choose. Enjoy!


This chickens are sooooo good ????????????
This sounds so good. A must try. I love my wings.
This chicken wing recipe was amazing!
i love chicken wings these look so good gotta try them. ty for sharing.