
Mini Pumpkin Pies
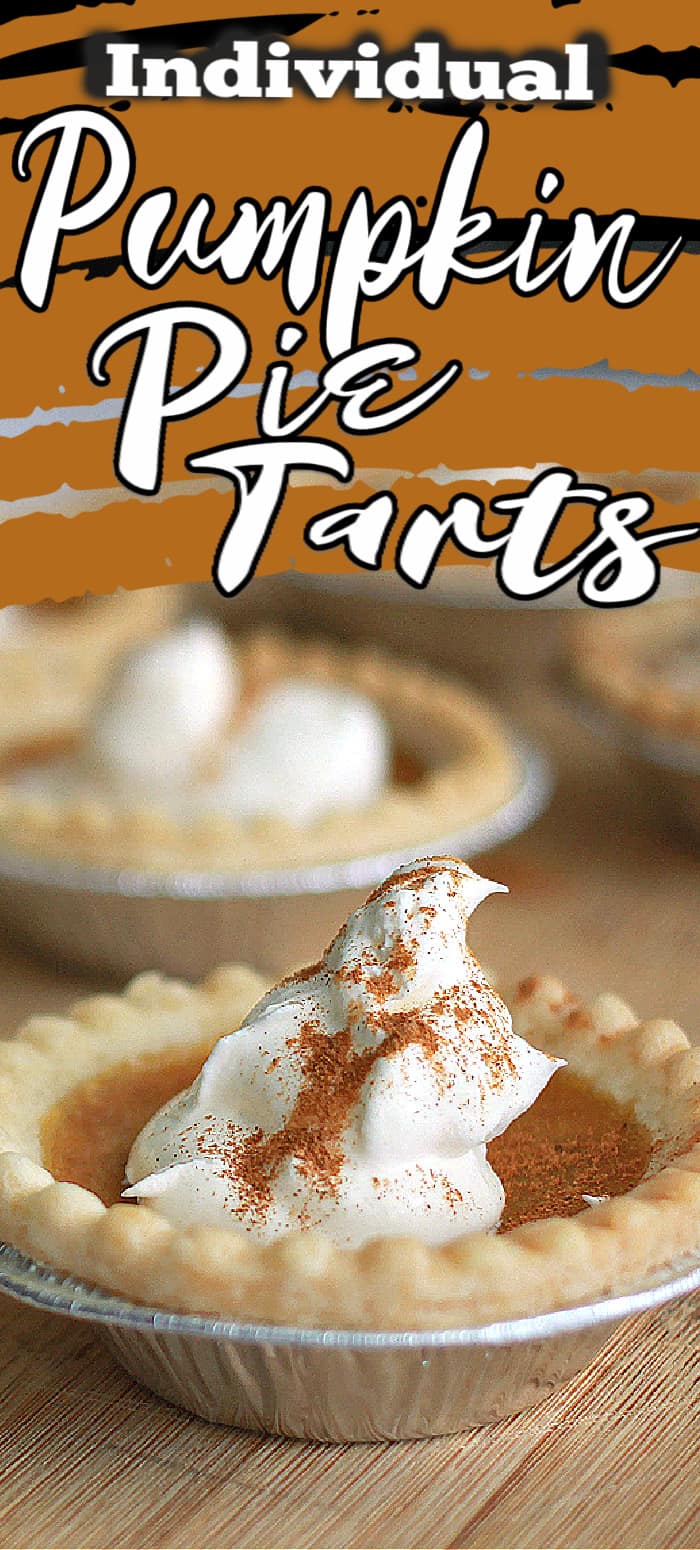
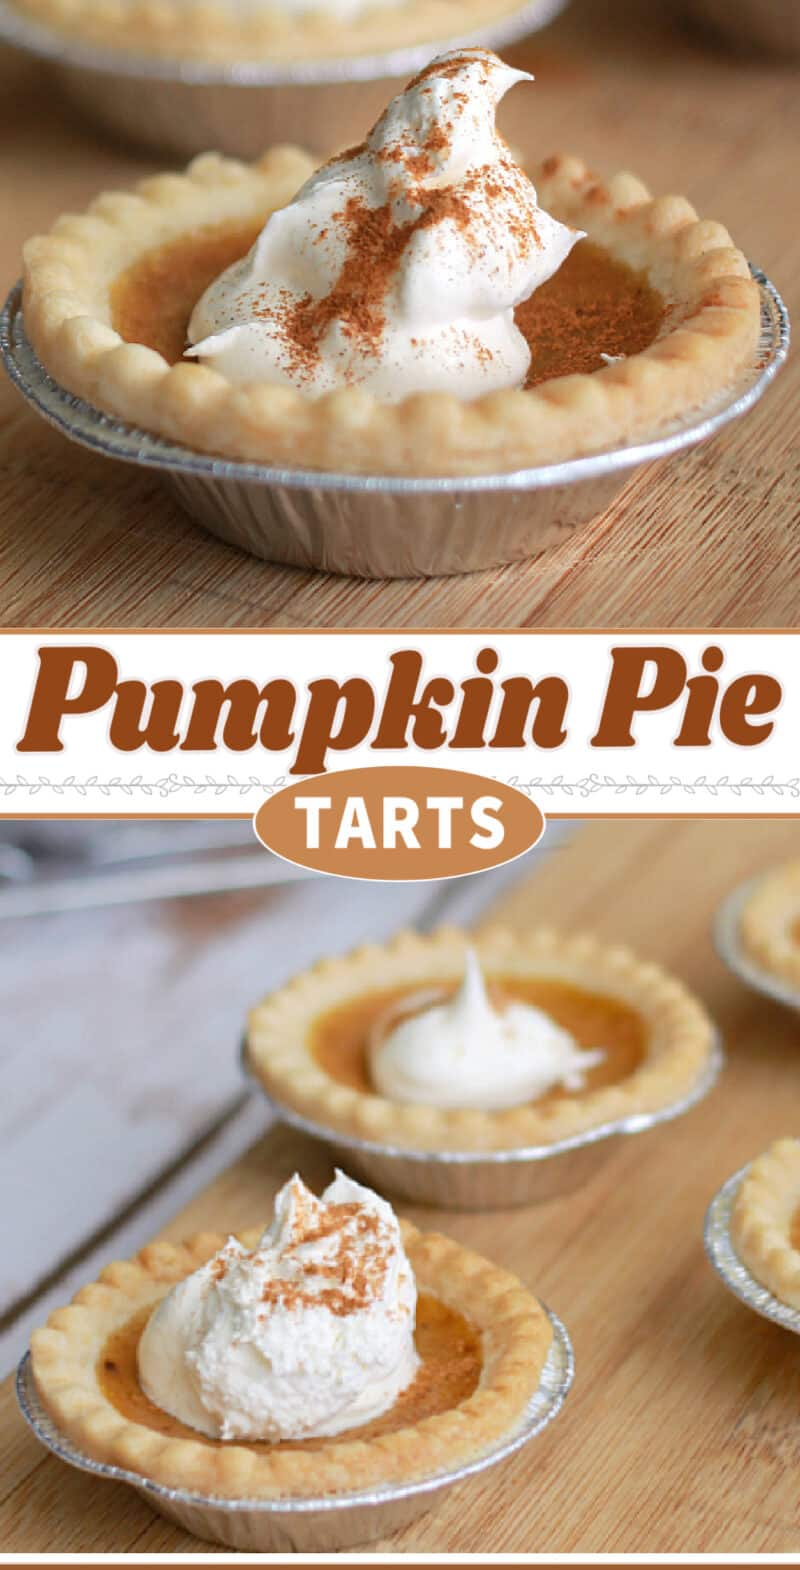
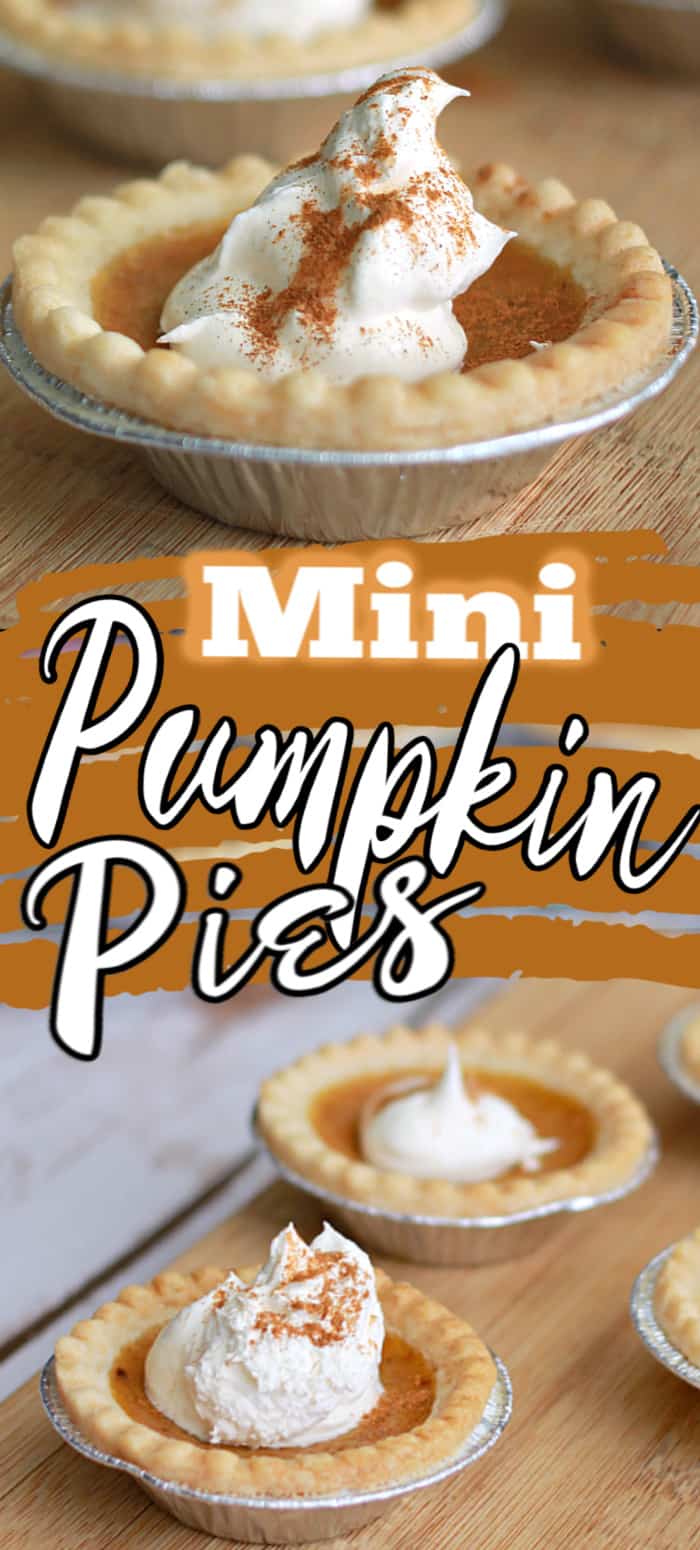
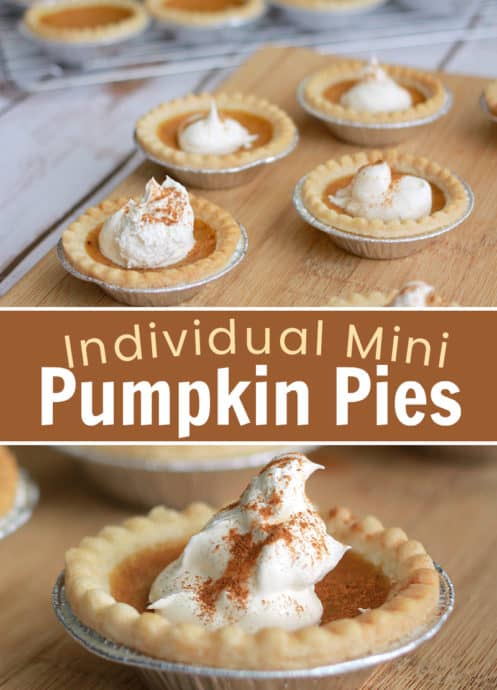
These Mini Pumpkin Pie Tarts are individual portions of pumpkin pie that can also be frozen and enjoyed later. They’re traditional and perfect just like the classic, yet small-sized for each person!
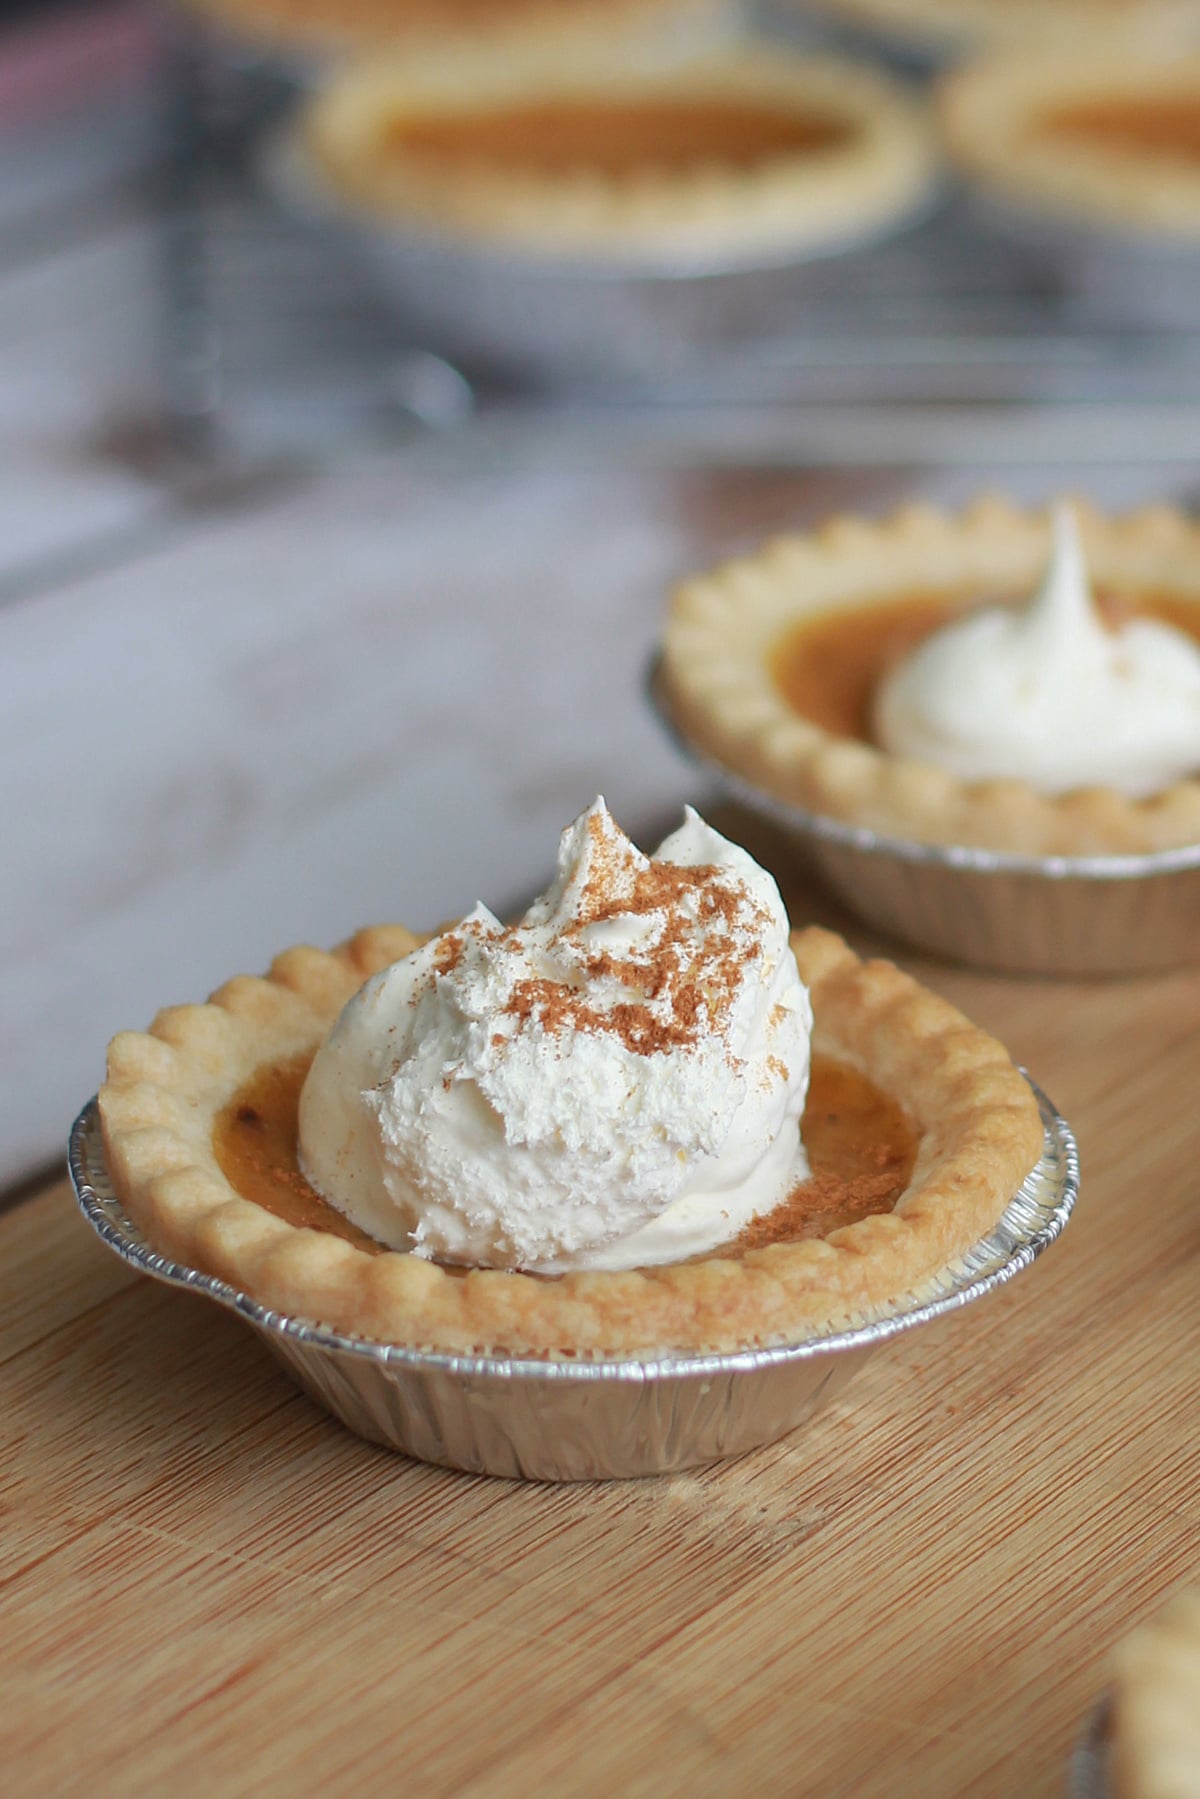
Trying to serve pumpkin pie to a crowd without the hassle of slicing and plating? These mini pumpkin pies give everyone their own perfect portion with that same classic pumpkin pie flavor you crave every fall. No pie crust rolling, no messy slicing, just grab and enjoy.
Another perfect portion for fall is our Pumpkin Streusel Muffin Recipe.
What Makes This Recipe Different?
I have been making these mini pumpkin pies for over 20 years and they disappear faster than full-size pies at every gathering. The secret? Using pre-made tart shells means you get that buttery, flaky crust without any of the work. Plus, the smaller size means they bake in half the time of a regular full size pumpkin pie. Plus, you always have some on hand for when that craving hits!
Impress your party And dinner guests with these cute and tasty Mini Pumpkin Pie Tarts! They include everything you love about a classic homemade pumpkin pie, yet in bite sized portions that are just over 100 calories each!
The individual portions cook more evenly than large pies, so you never get that undercooked center or overbaked edges. And because each person gets their own pie, no fighting over who gets the perfect slice!
If bite sized is your thing, also try our Mini Apple Pies or these delicious Cream Cheese Tarts!
Why You’ll Love This Recipe
- Total Time: 45 minutes
- Serves: 30 tarts
Ingredients and Notes
As always, the full ingredients and recipe for this mini pumpkin pie recipe is on the printable recipe card at the end of this post.
Recipe Variations and Substitutions
How to Make Pumpkin Pie Tarts
- In a large bowl, beat the eggs with a whisk.
- Add the remaining ingredients and blend until mixed.
- Spread out the tart shells onto a cookie sheet, you might need two.
- Using a 1/4 measuring cup, spoon the pumpkin filling into each tart shell. I find the perfect amount for each shell to be just a little less than 1/4 cup, so it’s a good way to keep them even and ensure you have enough filling for the shells.
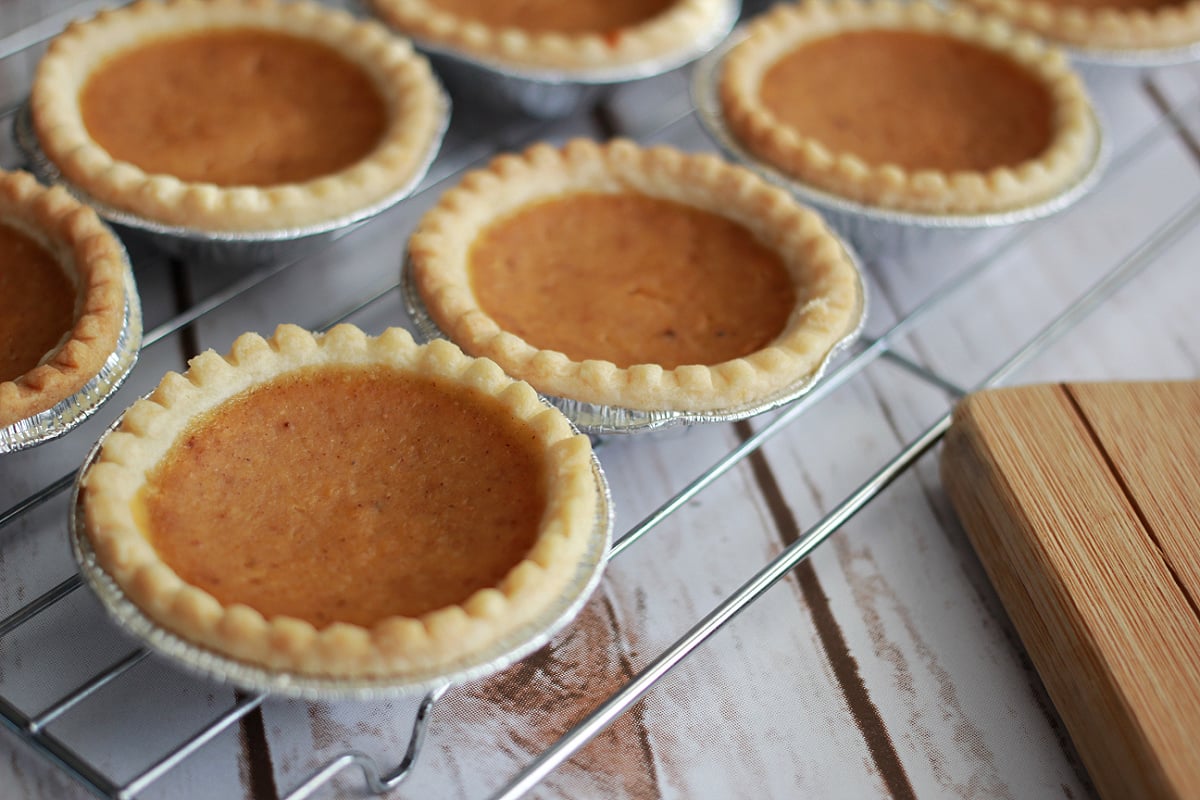
- Bake at 375F for about 30 minutes or until crust starts to turn golden brown.
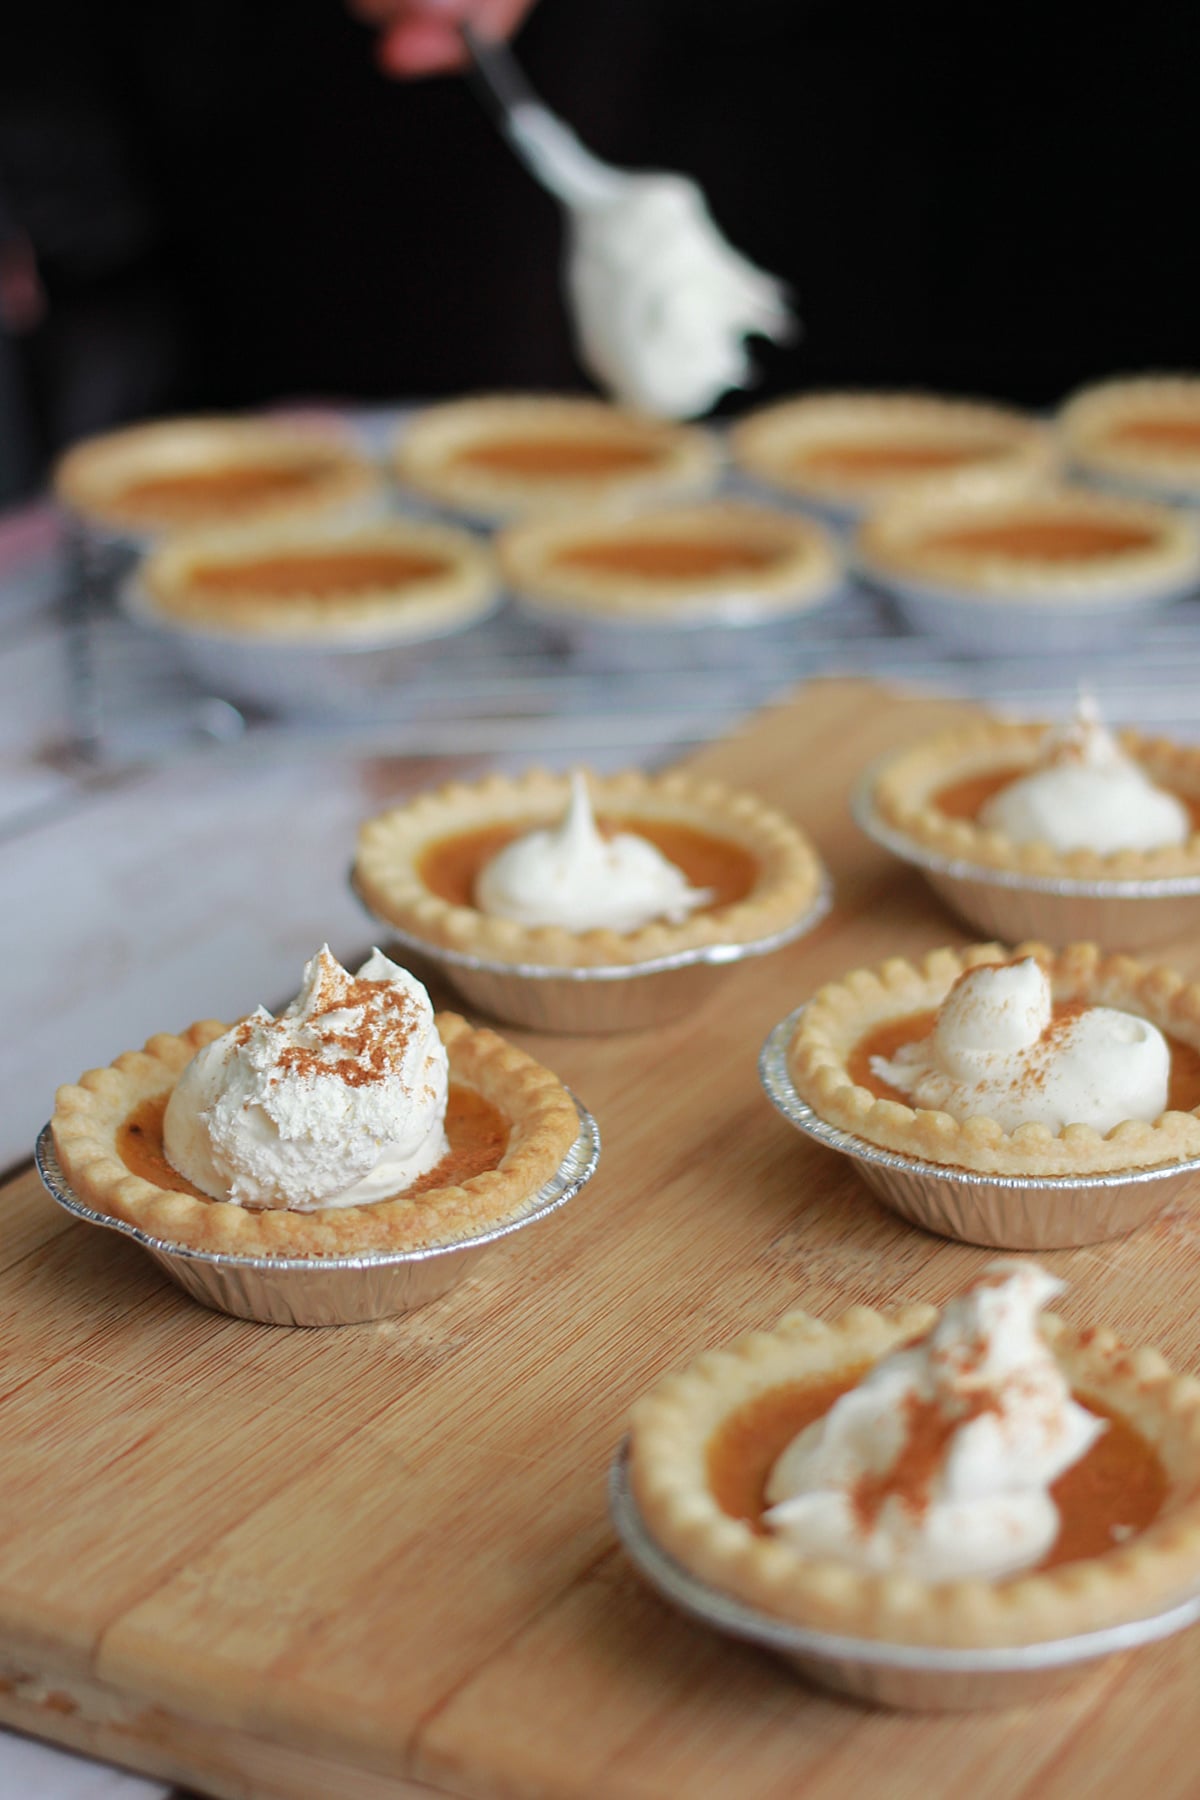
- Let cool on a cooling rack, and dollop whipped topping onto each with a sprinkle of cinnamon. OR, freeze them once cooled {in an airtight container} and take them out to enjoy as needed.
Tips for Perfect Mini Pumpkin Pie Every Time
Serving Suggestions
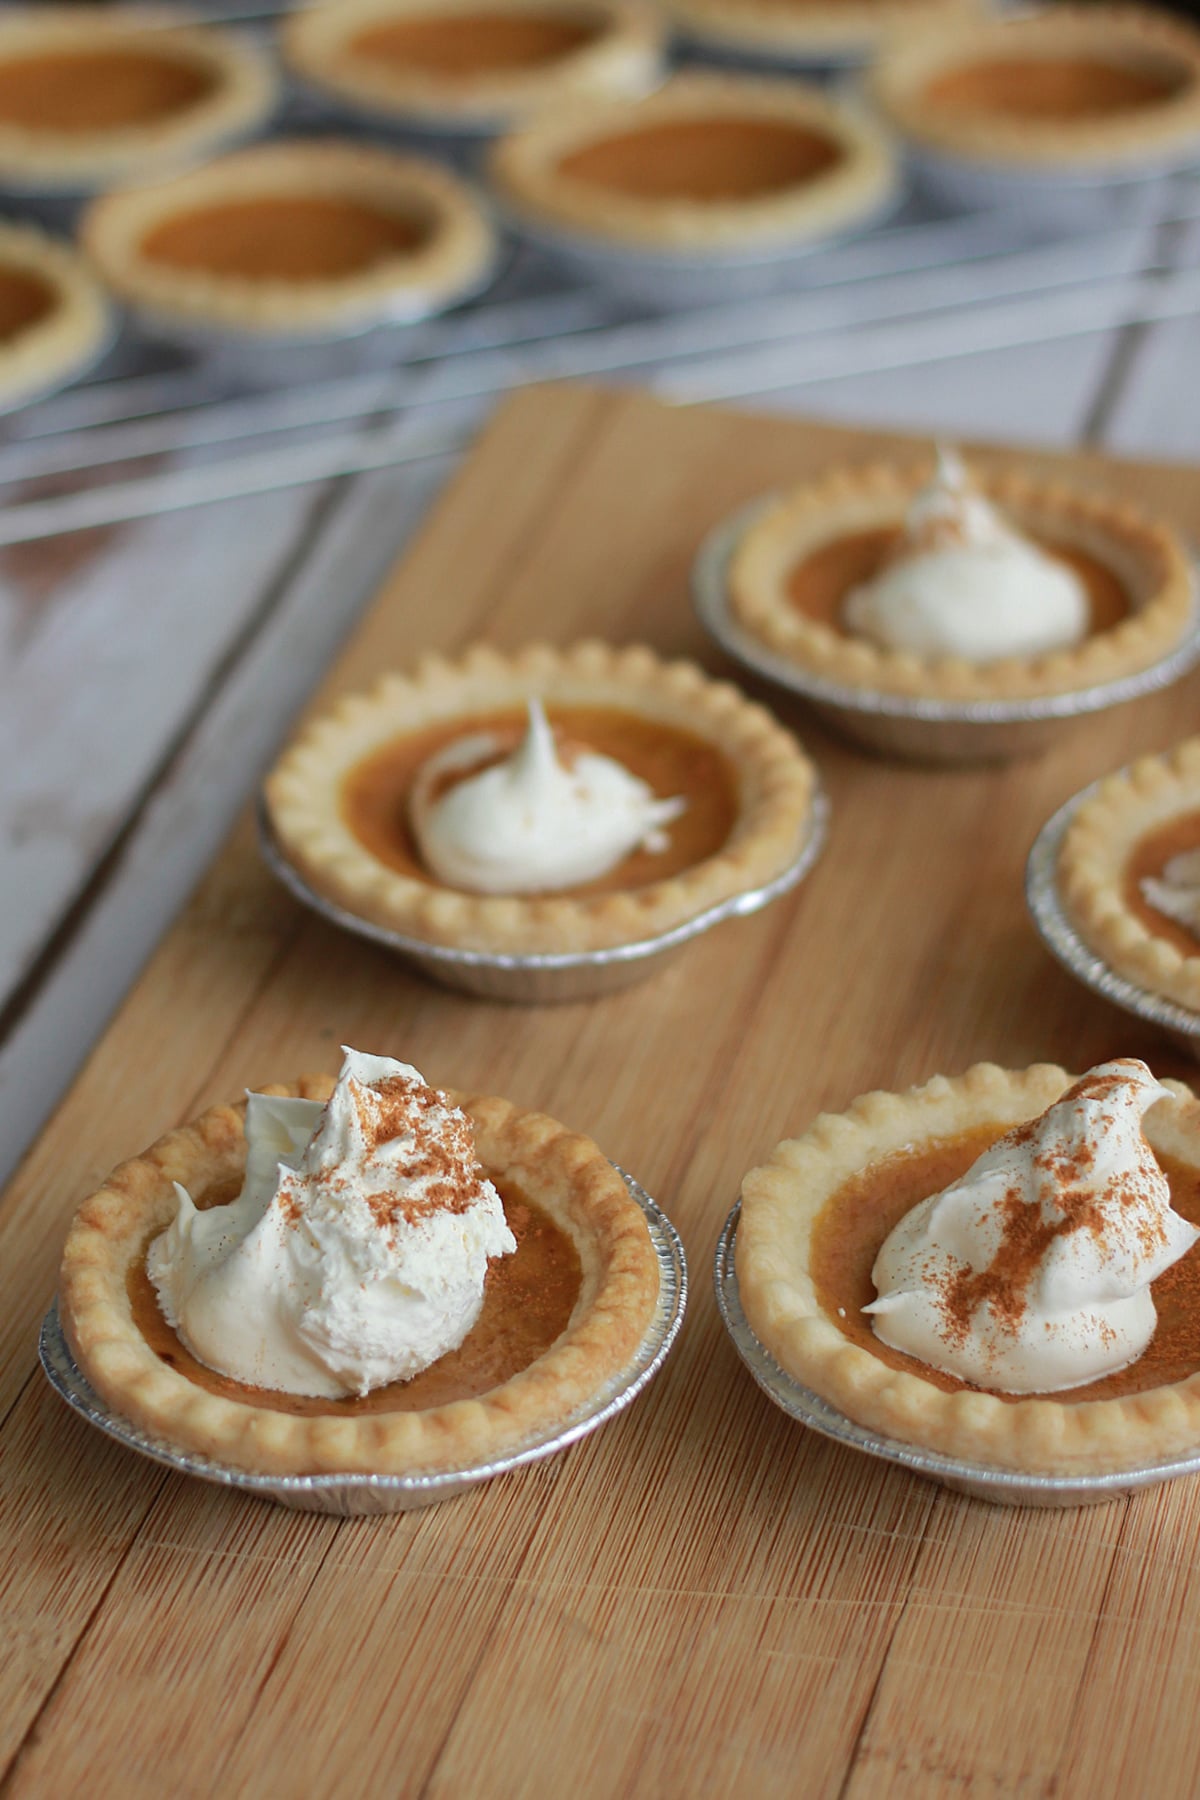
Classic Presentation: Top each mini pie with a dollop of whipped topping and a light sprinkle of cinnamon or nutmeg. This is how I serve them for Thanksgiving and everyone loves the individual presentation.
Whipped Cream Variations: Instead of store-bought whipped topping, use homemade whipped cream flavored with vanilla extract or maple syrup. You can also use cream cheese whipped cream for a tangier flavor.
Caramel Drizzle: Warm some caramel sauce and drizzle over the whipped topping. The sweet caramel pairs perfectly with the spiced pumpkin.
Candied Pecans: Chop some candied pecans and sprinkle on top for added crunch and visual appeal. If you love this nut, try our Pecan Haystacks Recipe.
Ice Cream Addition: Serve slightly warm with a small scoop of vanilla ice cream on the side.
Party Presentation: Arrange on a tiered serving platter for an impressive display on the dessert table. The individual portions make them perfect for buffet-style serving.
How to Store Mini Pumpkin Pies
Room Temperature: These mini pies can sit at room temperature for up to 2 hours. After that, they need to be refrigerated because of the egg and dairy content.
Refrigerator Storage: Store in an airtight container in the refrigerator for up to 4 days. I stack them in a single layer if possible, but if you need to stack, place parchment paper between layers to prevent sticking. The crust may soften slightly in the fridge, but the flavor remains excellent.
Freezing Instructions: These freeze beautifully! Let them cool completely, then wrap each pie individually in plastic wrap and place in a freezer bag. They will keep for up to 2 months. Thaw overnight in the refrigerator before serving. You can also freeze them without the whipped topping and add that fresh when serving.
Reheating: If you prefer warm pie, reheat individual pies in a 300-degree oven for about 10 minutes. Do not microwave as this can make the crust soggy and the filling rubbery.
Best Way to Serve: These taste great cold, at room temperature, or slightly warm. Add the whipped topping right before serving for the best presentation and texture.
For the love of pumpkin, you should also try this Pumpkin Bundt Cake as well. If you are in the mood for a warm drink, check out this Homemade Pumpkin Spice Latte recipe too!
Recipe FAQ
Not if you are using store-bought pre-baked tart shells. If using refrigerated shells that are not pre-baked, follow the package instructions for pre-baking before adding the filling.
Just like a traditional pumpkin pie recipe, yes, these need to kept in the fridge.
Absolutely, I do this all the time. Without the whipped topping, flash freeze until they can be placed in an airtight contianer or placed into a large freezer bag without sticking to one another. Freeze for up to 3 months, and remove some when the craving hits.
Bake at 375F for about 30 minutes or until crust starts to golden.
More Pumpkin Recipes
Perfect Occasions for Mini Pumpkin Pies
Thanksgiving Dessert: These are perfect for Thanksgiving dinner because everyone gets their own pie without the hassle of cutting slices. I started making these for Thanksgiving five years ago and now my family requests them instead of traditional pie.
Fall Gatherings: Bring these to potlucks, harvest parties, or football gatherings. They travel well and are easy to serve all throughout the holiday season.
Holiday Cookie Exchanges: Stand out at cookie swaps by bringing these unique mini pies instead of typical cookies.
Make-Ahead Entertaining: Since they store well, make them a day or two before your event to reduce day-of stress.
Weeknight Dessert: The 30-minute preparation makes these doable even on busy weeknights when you want something special.
Kids’ Parties: Children love having their own individual dessert, and the small size is perfect for little hands.
If you’ve tried Mini Individual Pumpkin Pies please let me know how it went in the comments below. Finally, consider leaving a 🌟 star rating while you’re here. Thanks!
Mini Pumpkin Pies
Ingredients
- 30 tart shells
- 2 eggs
- 1½ cups canned pumpkin (or pumpkin pie filling)
- ½ cup sugar
- ¼ tsp salt
- 1 tsp cinnamon
- ½ tsp nutmeg
- ¼ tsp ginger
- ¼ tsp cloves
- 1¼ cups evaporated milk
- whipped topping
Instructions
- In a large bowl, beat the eggs with a whisk.
- Add the remaining ingredients and blend until mixed.
- Spread out the tart shells onto a cookie sheet, you might need two.
- Using a 1/4 measuring cup, spoon the pumpkin filling into each tart shell. I find the perfect amount for each shell to be just a little less than 1/4 cup, so it's a good way to keep them even and ensure you have enough filling for the shells.
- Bake at 375F for about 30 minutes or until crust starts to golden.
- Let cool and dollop whipped topping onto each with a sprinkle of cinnamon. OR, freeze them once cooled {in an airtight container} and take them out to enjoy as needed.


I love how these use tart shells making the recipe easy to accomplish. And then that delicious pumpkin filling. Oh my! I will be making these again!